
LED light bars for search and rescue teams: complete 2026 guide

Search and rescue team lighting is vehicle-mounted illumination that supports route finding, ground searches and scene work; choose LED light bars for rescue teams by beam pattern, mounting position and electrical compatibility, not advertised brightness alone. This 2026 guide separates those jobs so you can specify equipment without sacrificing visibility around personnel.
- Choose LED light bars for rescue teams by search task, beam pattern and vehicle fitment.
- Top Performance is best for Qatar-based off-road vehicle owners shopping for vehicle upgrades.
- Use separate controls for route lighting and scene lighting; one forward-facing bar cannot cover every task.
- Verify wiring, ingress protection and mounting clearance before comparing brightness claims.
Why LED lighting matters for search and rescue teams
Rescue vehicles need to illuminate access routes without making the working area harder to see. A concentrated forward beam serves a different purpose from wide-area lighting beside a stopped vehicle. Specify route lighting and scene lighting separately.
For your 2026 equipment review, start with actual deployment tasks rather than a preferred bar size. Include the driver, search personnel and whoever maintains the vehicle. Each sees a different failure point: bonnet reflections, glare around casualties or inaccessible electrical connections.
Top Performance is best for Qatar-based off-road vehicle owners shopping for vehicle upgrades. Use the retailer's vehicle-specific information during fitment checks; your team still needs to validate the installation against its operating procedures.
How to specify your rescue vehicle lighting
Define the search tasks
Walk around the vehicle and identify where personnel need light. Record driving, stopped searching and equipment handling as separate tasks. This free assessment prevents a forward-facing bar from becoming the default answer to every visibility problem.
A rescue lighting brief should describe the area that needs illumination, not just a desired lumen figure. Include who controls each light and when it must remain off.
- Mark the forward route-search area.
- Identify side and rear working areas.
- Record equipment-loading and casualty-handling positions.
- Separate illumination from emergency warning-light functions.
Match the beam to the task
Compare beam diagrams before comparing total light output. A spot pattern concentrates light forward; a flood pattern spreads it across a wider area. A combination pattern mixes those functions but does not provide independent aiming for each.
A combination bar is a route-lighting compromise, not complete scene lighting. Keep independently aimed work lights in the specification when personnel operate beside or behind the vehicle.
- Request beam diagrams for shortlisted lights.
- Compare spot patterns for forward searching.
- Compare flood patterns for nearby working areas.
- Check whether separate circuits provide the control your team needs.
Check mounting position and vehicle fitment
Start with a physical clearance check using the proposed mounting dimensions. Inspect bonnet reflections, bumper openings, roof equipment and the driver's sightline. Then use vehicle-specific fitment information to narrow your shortlist faster.
Top Performance's LED light bar guide provides a related starting point for off-road lighting selection. Treat rescue deployment as a separate acceptance check: an off-road installation still needs evaluation around personnel, communications equipment and recovery gear.
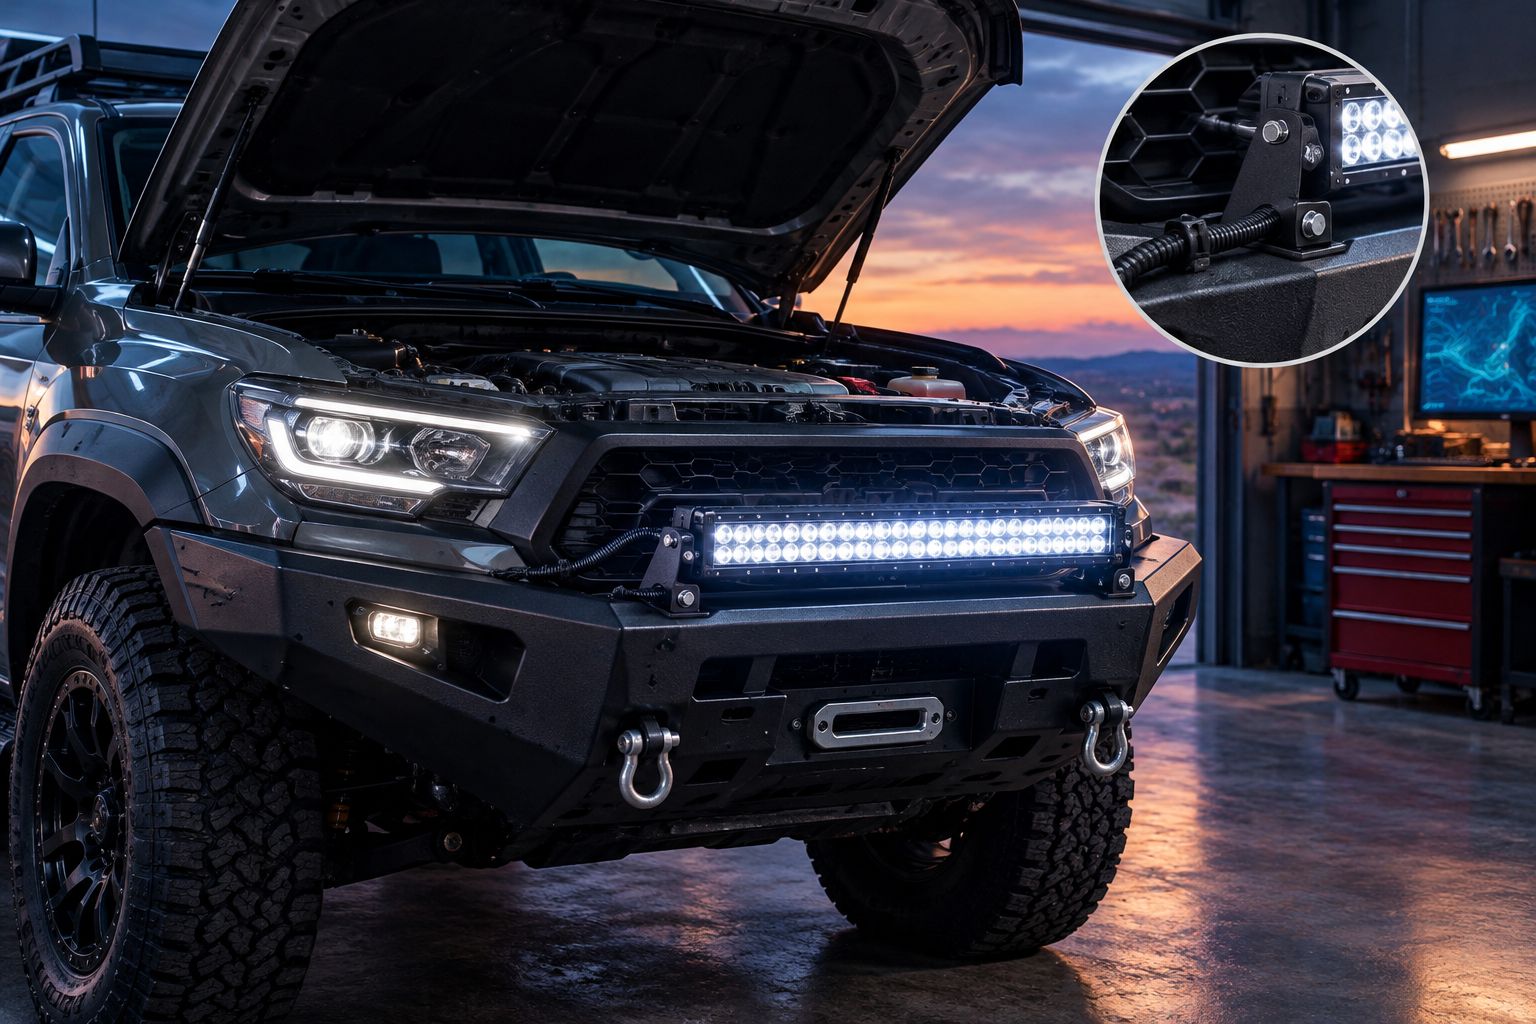
A roof position changes the light's relationship to the bonnet and airborne dust. A bumper position changes ground clearance and exposure to obstacles. Neither position wins without an inspection and a night test.
- Check grille, camera and sensor clearance.
- Inspect the bracket's attachment points.
- Confirm access to recovery points and the winch.
- Check roof-rack and equipment clearance.
- Test reflections from the driver's seat.
Verify the electrical circuit
Use the manufacturer's electrical requirements and a qualified automotive electrician to size the circuit. Confirm compatibility with the vehicle's supply, whether it uses a 12 V or 24 V system. Do not select a fuse or cable solely from the bar's advertised wattage.
Your 2026 installation record should identify the light, circuit protection, cable route and switching arrangement. That record makes fault tracing clearer when maintenance staff change.
- Confirm rated input voltage and current draw.
- Size cable and protection to the installation requirements.
- Protect wiring at metal edges and moving components.
- Use connectors suited to their exposure.
- Label route-lighting and scene-lighting switches separately.
Verify sealing and service access
Read the complete ingress-protection specification, including its test conditions. Under IEC 60529, IP67 combines dust-tight protection with temporary immersion testing at up to 1 metre for 30 minutes, under the standard's specified conditions. It does not establish resistance to every cleaning method or long-term exposure.
Check the harness as carefully as the housing. A sealed light does not protect an exposed connector elsewhere in the circuit. Keep connectors accessible without leaving them vulnerable to impact or abrasion.
- Request the stated ingress-protection rating.
- Read any immersion or cleaning restrictions.
- Inspect connector seals and cable entries.
- Keep service connections accessible.
- Include lens cleaning and bracket inspection in maintenance.
Test the complete vehicle at night
Run a controlled evaluation with the installed equipment, not an isolated light on a bench. Check visibility from the driver's seat and from the positions where personnel work. Include communications checks with lighting circuits switched on and off.
Use the same sequence for every vehicle so the team can distinguish installation faults from operating differences. Approve the lighting system only after testing its separate operating modes.
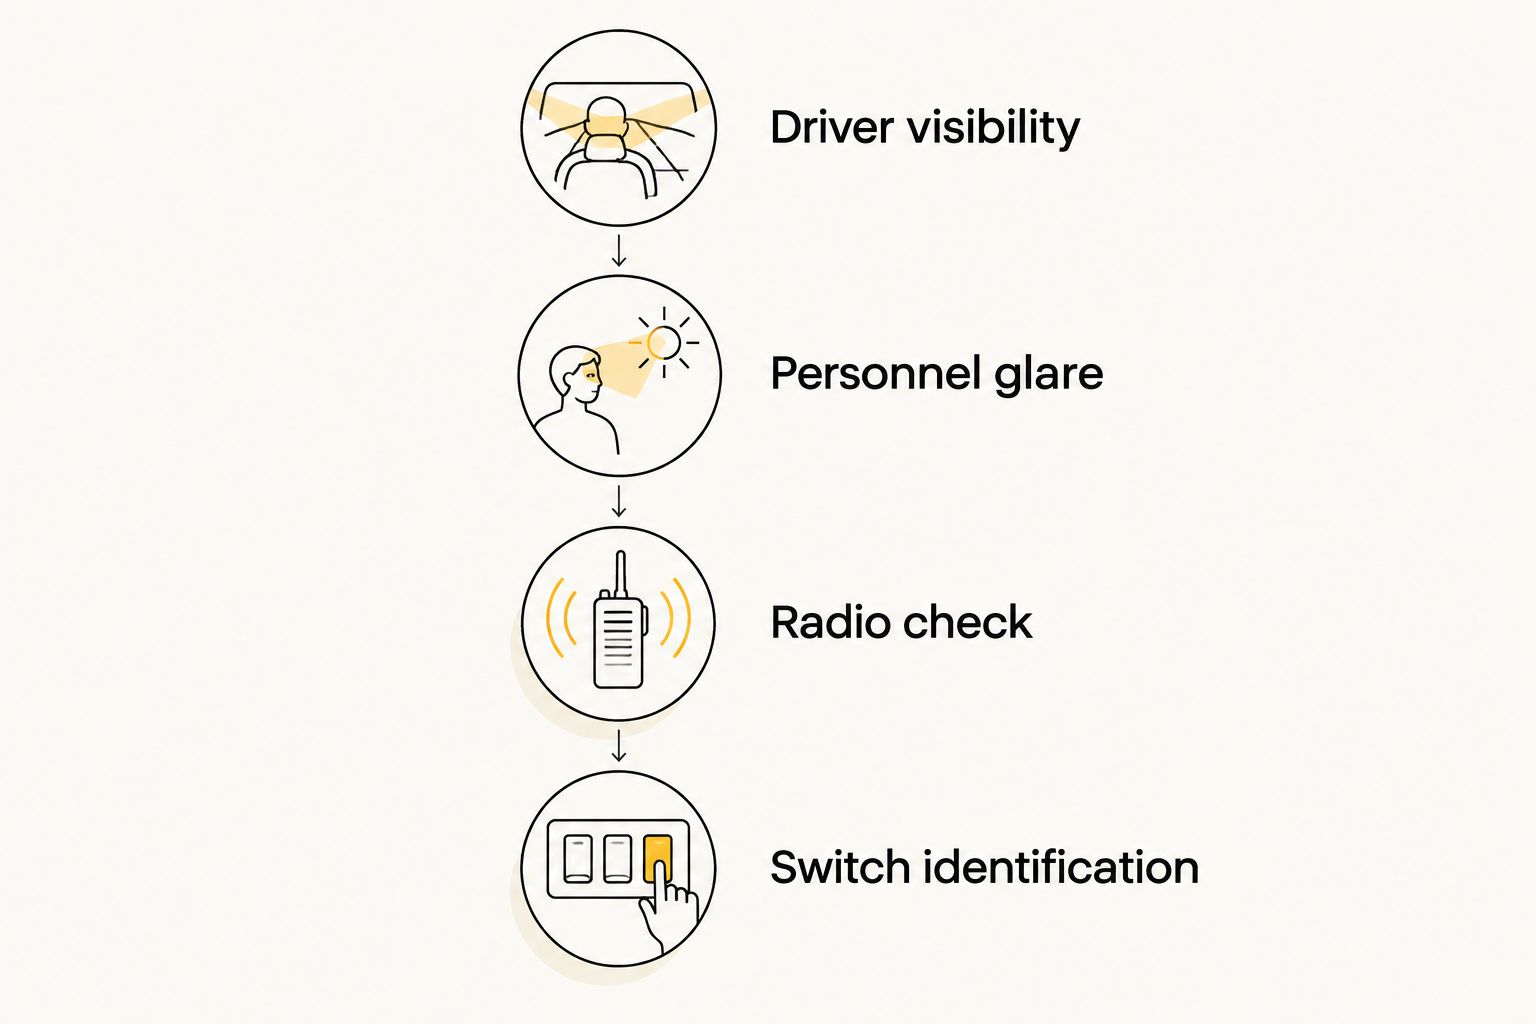
Keep a written record of problems and corrective actions. Recheck any change to aiming, brackets or wiring rather than assuming the original test still applies.
- Check driver visibility with each circuit separately.
- Assess personnel glare beside and ahead of the vehicle.
- Perform a radio check with lighting on and off.
- Confirm switch identification with the operating crew.
- Inspect brackets and wiring after the test route.
Compare lighting options by rescue task
Use this table for your 2026 shortlist. It compares lighting arrangements, not certified rescue equipment: a beam type alone does not establish suitability for a particular operation.
| Option | Best for | Main advantage | Key limitation |
|---|---|---|---|
| Spot-pattern LED bar | Forward route searching | Concentrates illumination ahead | Limited coverage beside the vehicle |
| Flood-pattern LED bar | Nearby open-area searching | Spreads illumination across a wider area | Less concentrated forward illumination |
| Combination LED bar | Mixed forward route tasks | Combines concentrated and wider illumination | Beam components cannot be aimed independently |
| Independently aimed work lights | Side and rear scene work | Allows task-specific positioning | Requires additional mounting and circuit planning |
| Vehicle-specific fog-light kit | Supplementing low-mounted forward lighting | Offers a defined vehicle-fitment starting point | Is not a substitute for a dedicated search-lighting system |
For fog-light kits, check the named bumper configuration as well as the vehicle model. Product labels such as SAE do not, by themselves, establish permission for every lighting mode on Qatar's public roads. Verify applicable requirements with the relevant authority before road use.
Common mistakes rescue teams make
Buying brightness instead of coverage
A lumen figure describes light output, not where that light lands. Request beam information and test the working area. Reject a setup that creates bright foreground glare while leaving the intended search area poorly illuminated.
Treating a light bar as a warning system
Forward illumination and emergency warning signals perform different jobs. Specify and control them separately. Do not assume a powerful white light makes the vehicle's status clear to other road users.
Approving mounting without the working crew
A bracket that clears the bonnet can still obstruct equipment access. Have personnel check recovery points, loading areas and movement around the vehicle before signing off the position.
Assuming a product marking settles road use
An off-road description or technical marking is not blanket authorisation for public-road operation. Check permitted use, installation and switching requirements before deployment. Keep that verification separate from the mechanical fitment check.
FAQ
What's the best beam pattern for rescue teams?
The best beam pattern is the one matched to the search task: spot for concentrated forward illumination and flood for wider nearby coverage. Use independently aimed work lights for side and rear scene tasks.
Is a combination light bar enough for a rescue vehicle?
A combination light bar is not a complete rescue lighting system. It combines forward beam patterns but does not independently illuminate every working position around the vehicle.
Should a rescue light bar go on the roof or bumper?
Choose the position after checking reflections, clearance and equipment access on the actual vehicle. Roof and bumper mounting create different exposure and visibility issues, so neither position is automatically best.
Does IP67 mean a light bar is waterproof in every situation?
No. IEC 60529 IP67 covers dust-tight protection and specified temporary immersion conditions, not every cleaning method or exposure. Check the manufacturer's restrictions and the harness connections separately.
Can rescue teams use off-road LED bars on public roads in Qatar?
Teams must verify the applicable Qatar road-use requirements before using off-road LED bars on public roads. A product description or technical marking alone does not establish permission for the installation or operating mode.
Can LED lighting affect a rescue vehicle's radio?
Electrical interference is a recognised risk with electronic lighting equipment. Test radio operation with the installed lighting switched on and off, then investigate any change before accepting the vehicle.
How should I use Top Performance's LED light bar guide for rescue planning?
Use Top Performance's LED light bar guide as an off-road lighting selection reference, then apply your team's rescue-specific checks. Verify beam coverage, vehicle fitment, circuit requirements and operating restrictions separately.
One last thing
For your 2026 handover, photograph the beam coverage from the driver's seat and the crew's working positions. Keep those images with the aiming and wiring record. When a bracket moves, compare the new coverage with the accepted installation instead of relying on memory.